
What is the Intersection Observer API? The Intersection Observer API is used for practical applications, i.e, lazy loading images and triggering animations. It allows for enhancing performance and user experience by efficiently managing how and when content appears on the screen.
What is the Intersection Observer API? The Intersection Observer API is used for practical applications, i.e, lazy loading images and triggering animations.
It allows you to enhance performance and user experience by efficiently managing how and when content appears on the screen.
Why is the Intersection Observer API useful?
Instead of constantly checking scroll events (which can negatively impact performance), the browser provides efficient callbacks whenever the observed element’s visibility changes.
Frequent scroll event checks, often referred to as 'expensive', can lead to performance issues such as jank or latency, as each check consumes processing resources.
Using the Intersection Observer API avoids these pitfalls by providing a more streamlined process
In simple words, we use the Intersection Observer API to run a callback when the targeted element is visible on the screen.
How to use the Intersection Observer api?
I've broken down the intersection observer api into 3 easy steps:
- First, we create a new instance of the Intersection Observer.
- Second, select the DOM target you want to observe.
- Third, pass the target to the observe method of the instance.
Here's a code snippet to help you understand better:
// Step 1: Define instance
const observer = new IntersectionObserver(callback, options);

// Step 2: Select the target you want to observe
const target = document.querySelector("#listItem");

// Step 3: pass the target into observe method
observer.observe(target);
Understanding the API in depth:
It's a bit tricky to understand initially. I recall it took me some time to master, and once I did, it helped me optimize my application.
const observer = new IntersectionObserver(callback, options);Intersection Observer receives 2 arguments: a callback and options.
Let's discuss the callback:
In this callback, you have access to the entries array, and you can use the forEach loop to loop through them.
If you select only one element, then select the first index of the array, like (entries[0]).
By doing this, you can use different properties, i.e, entry's time, but commonly we use isIntersecting (a Boolean value that returns true if the target is intersecting with the observer).
Example: Below is a simple example of how to use the isIntersecting property within a callback:
const callback = (entries, observer) => {
entries.forEach((entry) => {

 if (entry.isIntersecting) {
 console.log('The target element is in view.');
 } else {
 console.log('The target element is out of view.');
 }
});
This callback logs a message to the console whenever the target element enters or leaves the view.
Configure your observer:
Let's discuss the options object that the observer receives as the second argument.
It helps you refine your observer, and you can customize the behaviour according to your needs.
const options = {
root: null, //
rootMargin: "0px",
threshold: 1.0,
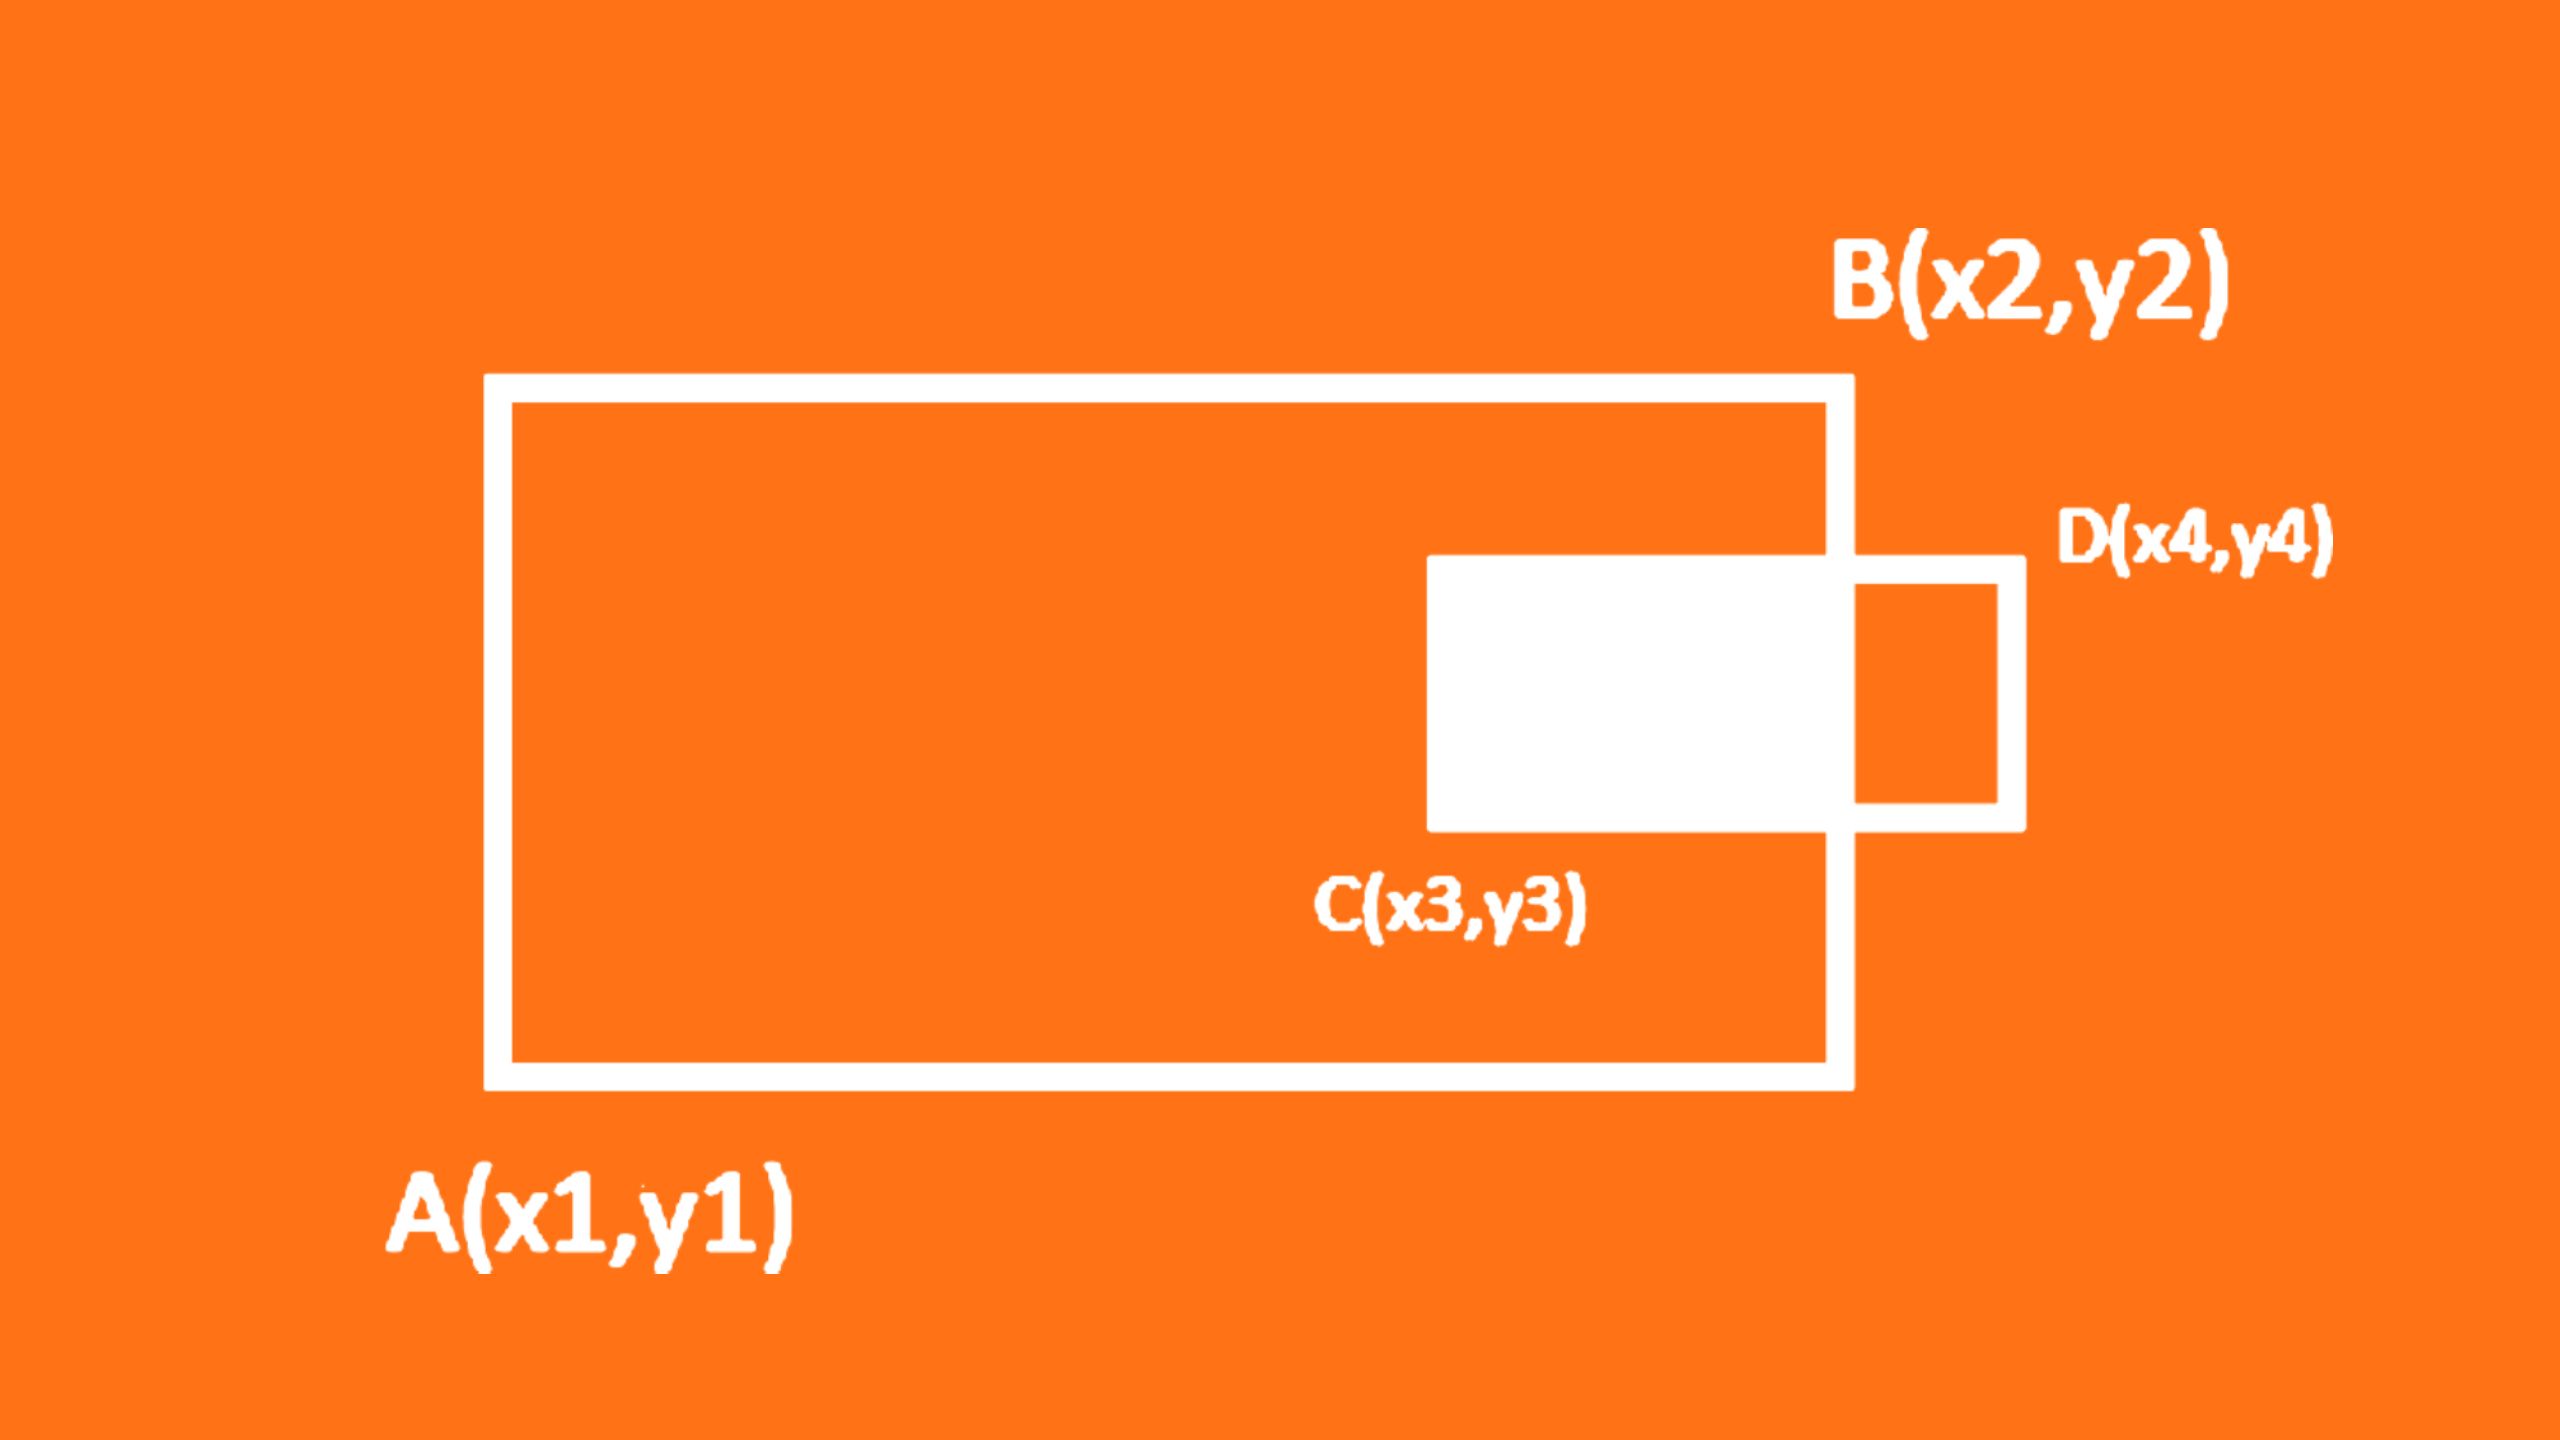
};Root:
The element that is used as the viewport for checking the visibility of the target. It must be the ancestor of the target.
It defaults to the browser viewport if not specified or if set to null.
When we say 'target selected already', it means that we have identified the target element through DOM selection, such as using document.querySelector or a similar method.
If this selection is already made, we then set the root to null for the targeted element.
In most cases, we always set the root to null.
RootMargin:
This sets extra space around the root element, just like the CSS margin property. You can use one to four values, such as "10px 20px 30px 40px", which means top, right, bottom, and left.
Only pixels (px) or percentages (%) are allowed.
Positive numbers make the root’s area bigger, and negative numbers make it smaller.
By default, if you don’t set anything, it will be "0px 0px 0px 0px" (no extra space).
Summary:
In conclusion, Intersection Observer helps you optimize your landing page or website. You can lazy-load your images and trigger animations once the viewport enters the DOM Element. You can customize the observer according to your needs by providing options as a second argument.
Author's words:
Thank you so much for taking the time to read this article. I'm hopeful you learned something today.
Please visit my LinkedIn or send us an email for queries or questions.


